We are here to make your special day just a little bit brighter…
From day-of planning to full-blown wedding & event planning, we are, literally, at your service.
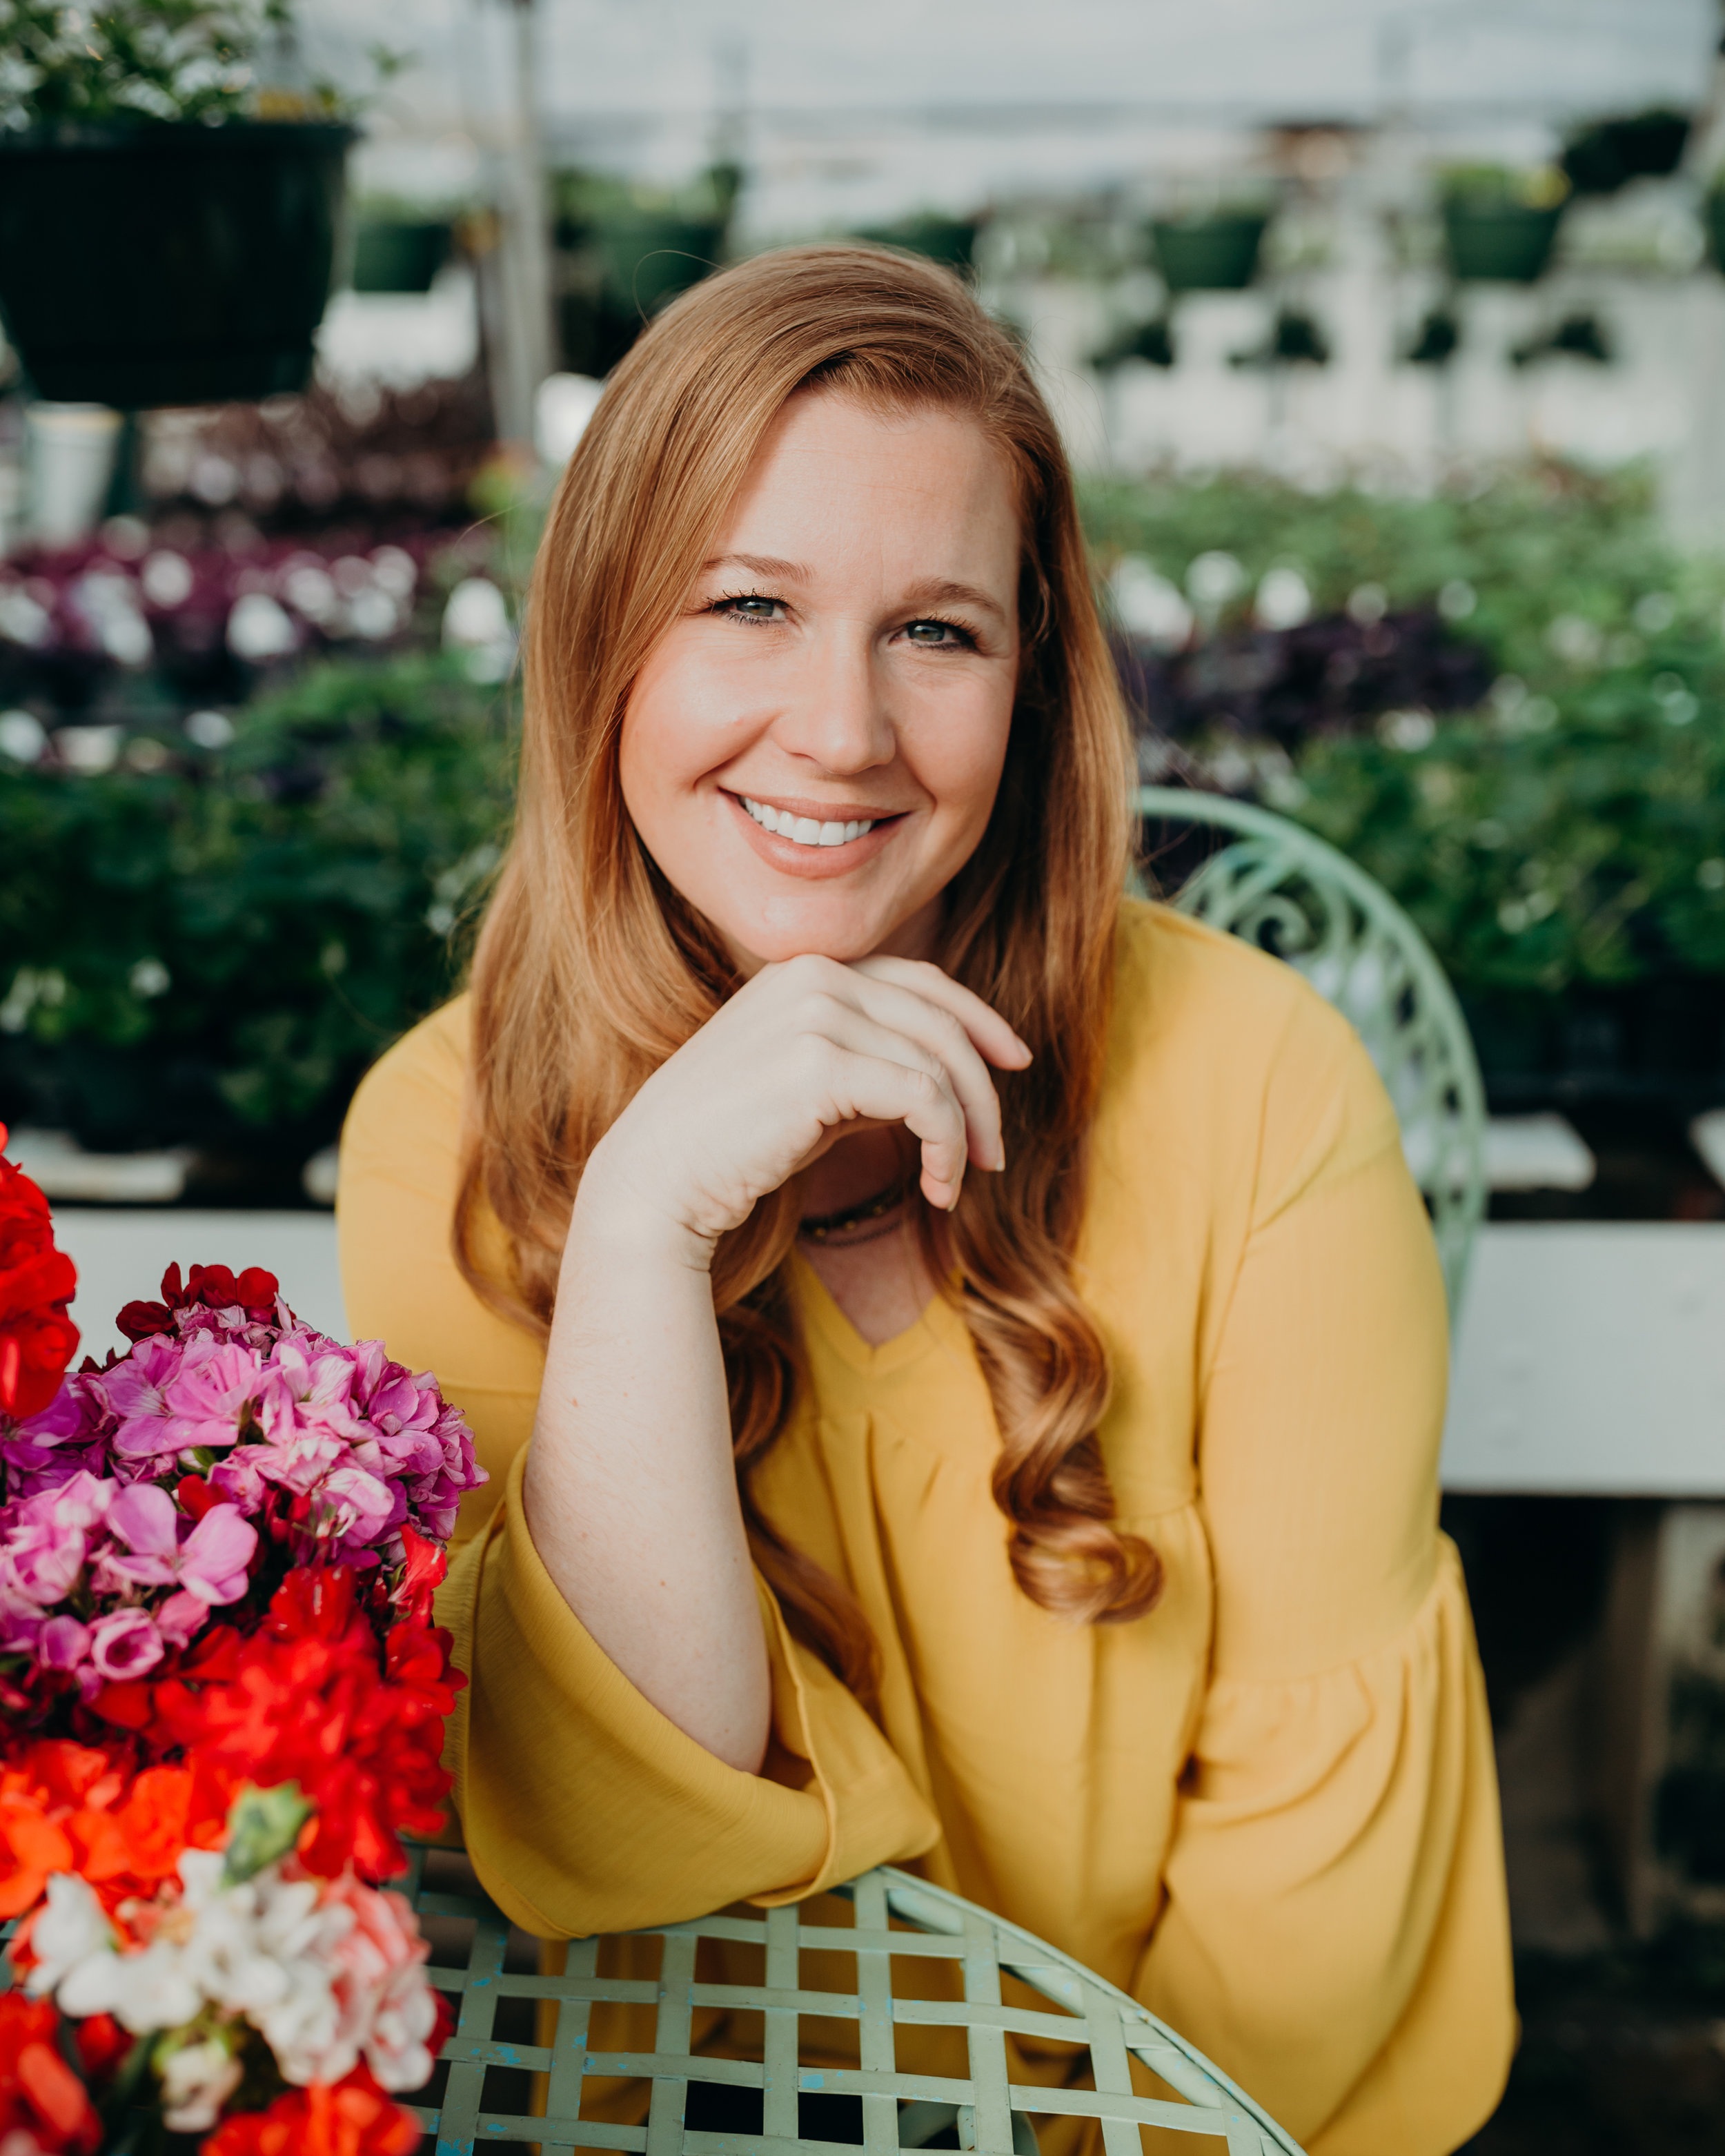
Hi, I’m becca
I’ve been event planning for as long as I can remember. I love to create beautiful spaces, seamless timelines, and come up with creative and functional ideas. But, more than anything, I want my clients to have a joyful experience. My natural demeanor is to be calm and helpful and my goal is to marry those characteristics with organization skills that allow my clients to have a stress-free and super fun day.
Let’s chat about how Social Graces can help your special day be filled with joyful moments that you will remember forever.

WEDDING SERVICES
Day-of Coordination
Month of Planning + Day-of Coordination
Full-blown Planning + Day-of Coordination
PARTIES & EVENTS
Here at Social Graces we love a good party, whether it be a birthday, a corporate event, or a charity gala.
Kind WordS
“Every girl dreams of her wedding day, Becca and Social Graces literally made my dreams come true by taking all the stress and worry out of our weekend. I will be forever grateful to them for doing such an amazing job!”
- Lauren D, Bride
“The best part of it all was she was professional but at the same time seemed like a friend I have know for a long time…
…I had way more moments when I was laughing than stressing. She is your girl. The whole team is just amazing.”
-Kindra, Bride

Kind words
“Becca was a game changer for all things wedding! I will never forget how relaxed I was on my wedding day knowing she had everything taken care of. I was able to completely focus on experiencing every minute of the day with my friends and family, which gave me inexpressibly joyful memories from my wedding that I will continue to cherish for a lifetime.”
- Lauren B, Bride
“Right off the bat she was easy to talk to, took all of our ideas and situations into consideration, and was extremely enthusiastic. Having Becca as my right hand gal through a year and a half of planning was the best decision I made.”
-Danielle, Bride
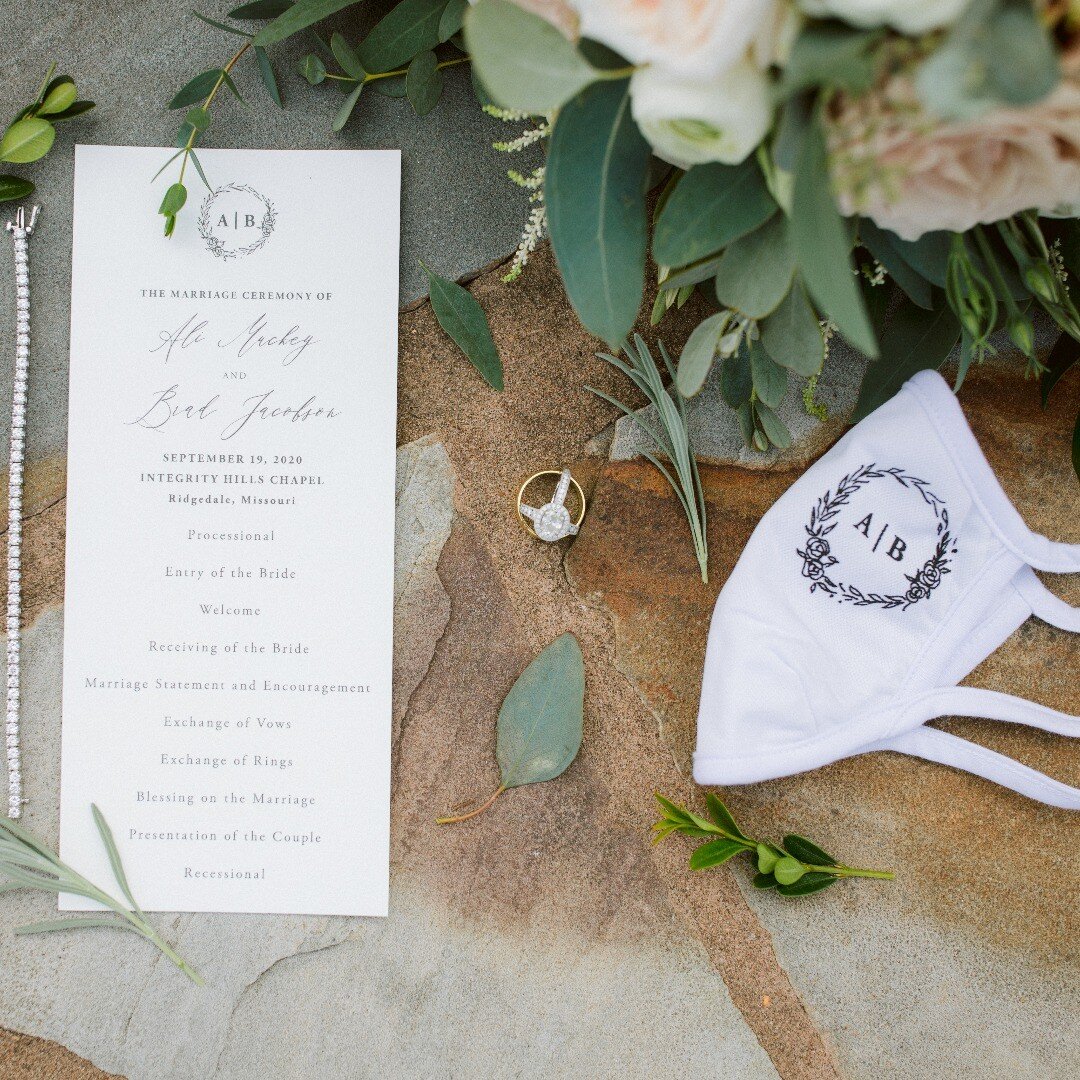
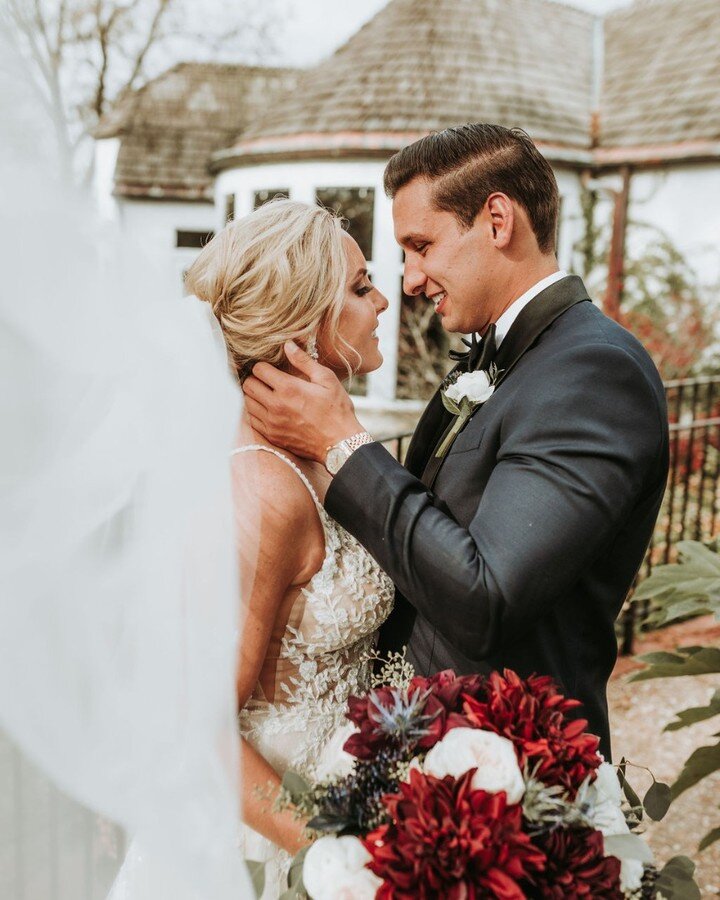
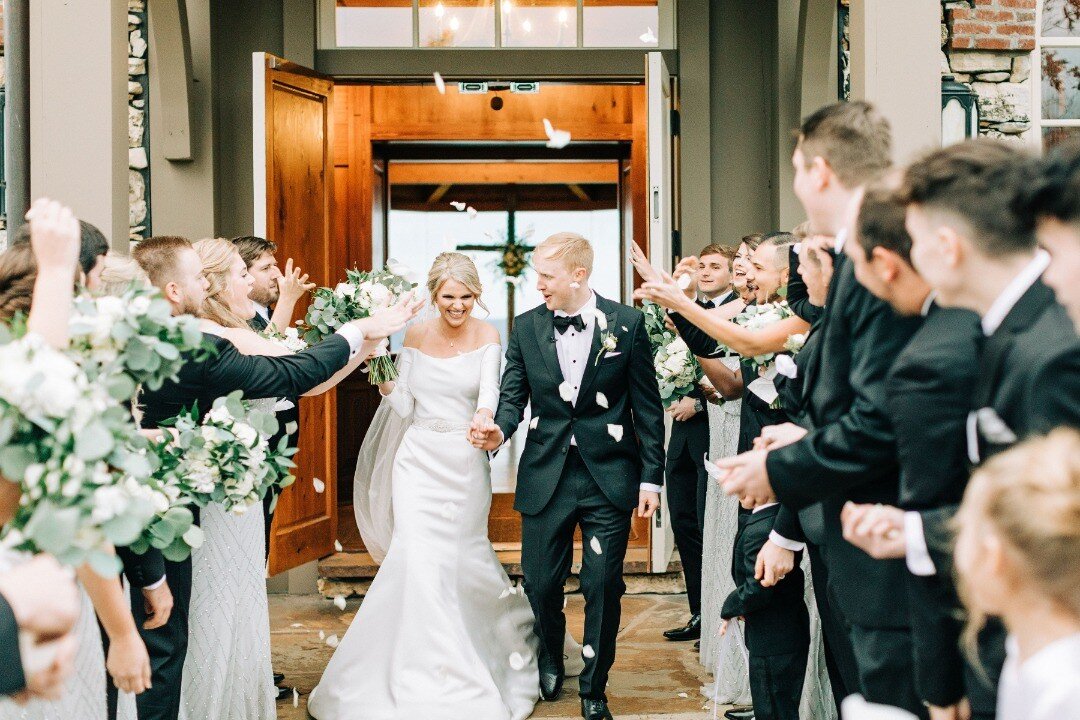
Real Weddings

Tim + Courtney

Garrett + Emma
Lindsey + Charlie

Trevor + Lauren
Corbin + Raechelle
Cozy Winter Styled Shoot

Gunner + Danielle

Hunter + Celina

Alex + Austin
Thanks to Meg White Photography, Love is a Big Deal, Elise Abigail Photography, Kaitlan Reasoner Photography, and FourThirteen Photography for sharing their beautiful images of Social Graces weddings.